
What do you need to run Vanda?
As Vanda is a web-based browser application, all you need to use Vanda is:
- Web browser – Preferably Chrome or Firefox/ Microsoft Edge/ Safari
- Working PC/Laptop
- Internet Connection
- Additional Monitor for queue display (Monitor needs to be connected to a PC or able to launch a web browser)
How to access Vanda?
Once we are ready to work together, Magicsoft will create an overall administrator account for you. The login credentials and link will be given to you – simply head to the link on your PC’s web browser, login with the credentials and begin using Vanda!
What to do after logging in?
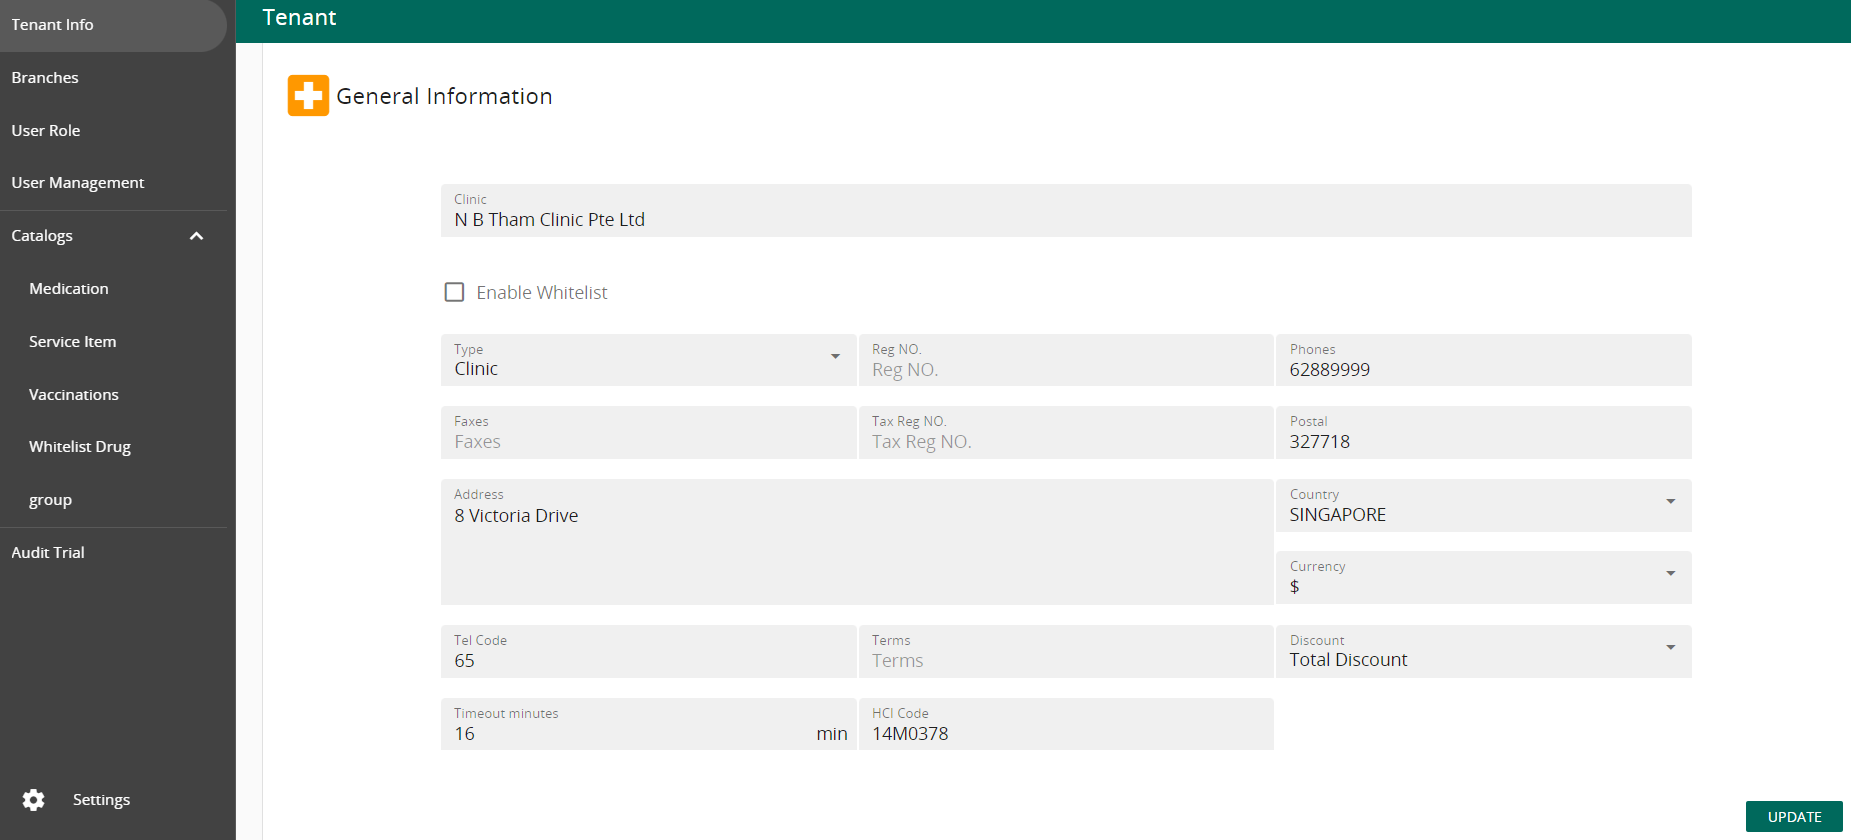
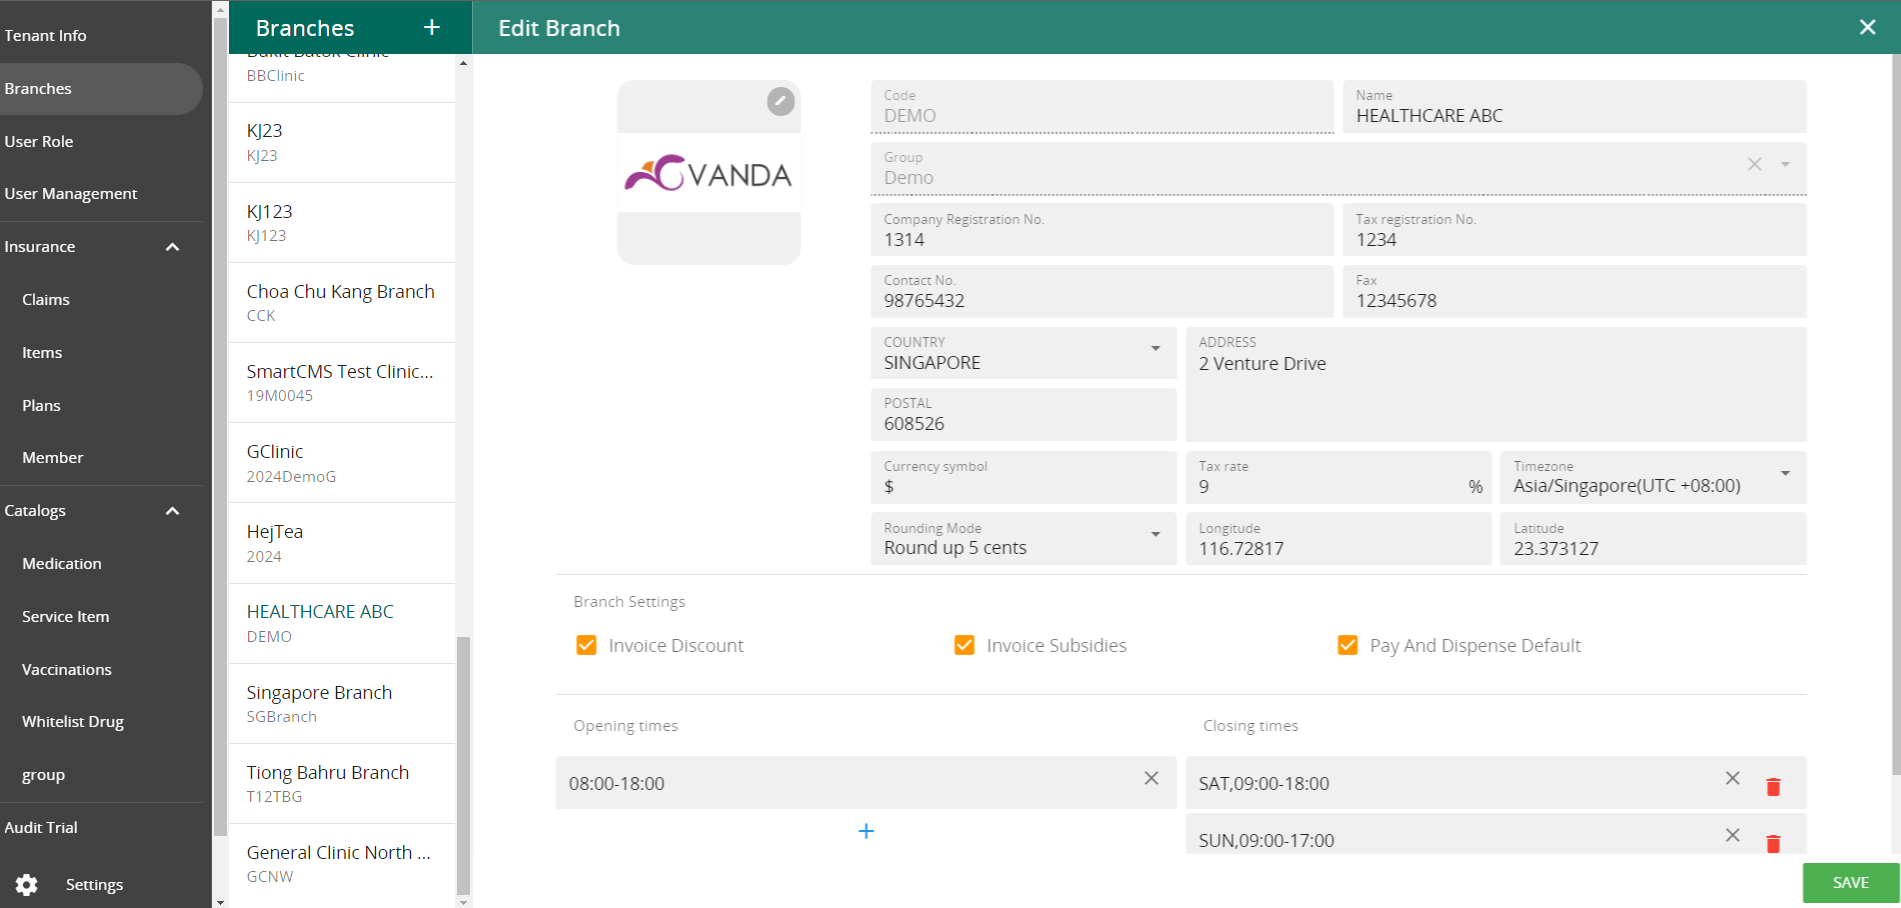
- Start by filling in your tenant information followed by creating branches. These information are important as they will be reflected in printouts such as invoices and labels.


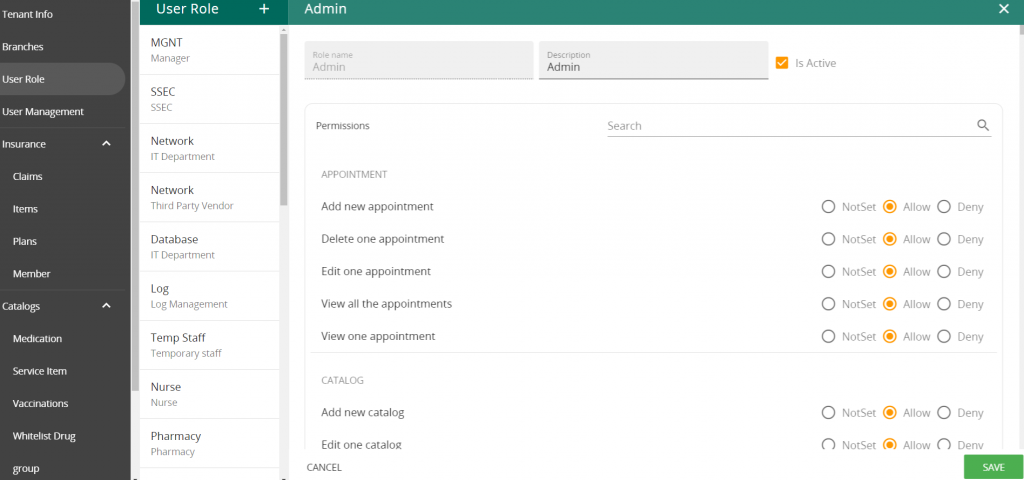
- Next, create roles and setting the permission related to each roles. Do note that permissions with “Get” and “View” are typically systemic access which should be set to “Allow” or “Not Set”, otherwise, users may face errors when accessing relevant modules.

User Role
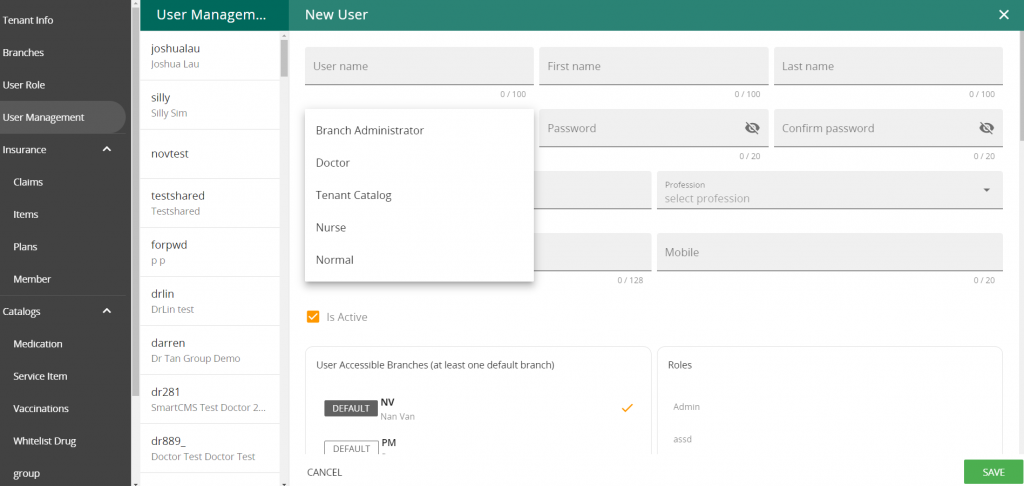
- Once the roles are set up, you can begin creating users for Vanda Clinic. When creating users, it is important to select the correct User type, especially for doctors as the user type will separate the queue view for doctors. You can select the branches that the users can access along with assigning relevant roles to the users.You may wish to use a generic password when creating the users as users will be prompted to change their password when they login to Vanda Clinic for the first time.

Creating Users
- Then, you may begin conducting data checks!
- If you have had an existing CMS and have opted for migration, it is important to double check your data to ensure that all your data are in. Data checks have to take place in both Vanda Manager and Vanda Clinic.
- If you do not have any existing CMS, you may liaise with our team for standardised data such as SNOMED, NHDD, SMST for your usage.
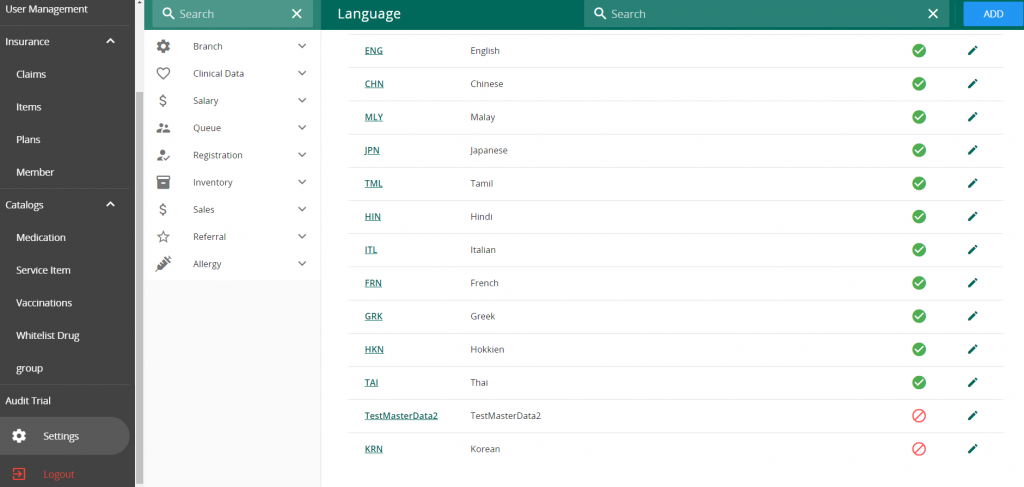
- User may also set up their own data! Start by going into Vanda Manager -> Settings. Fill in the relevant Master Data as required.

Settings with master data
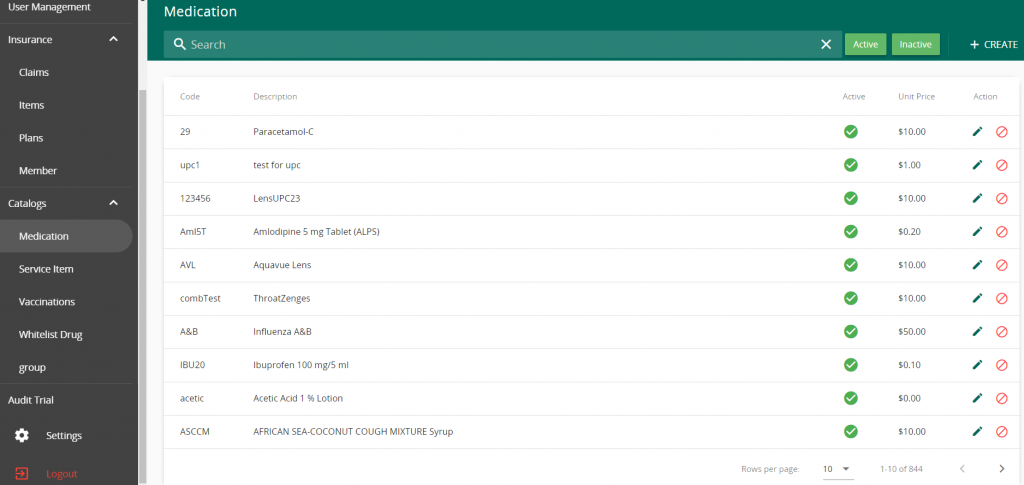
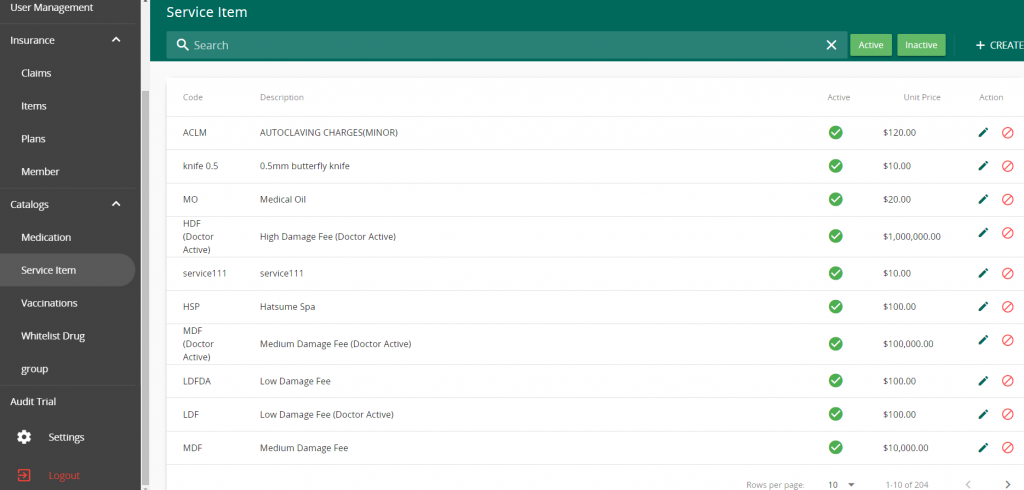
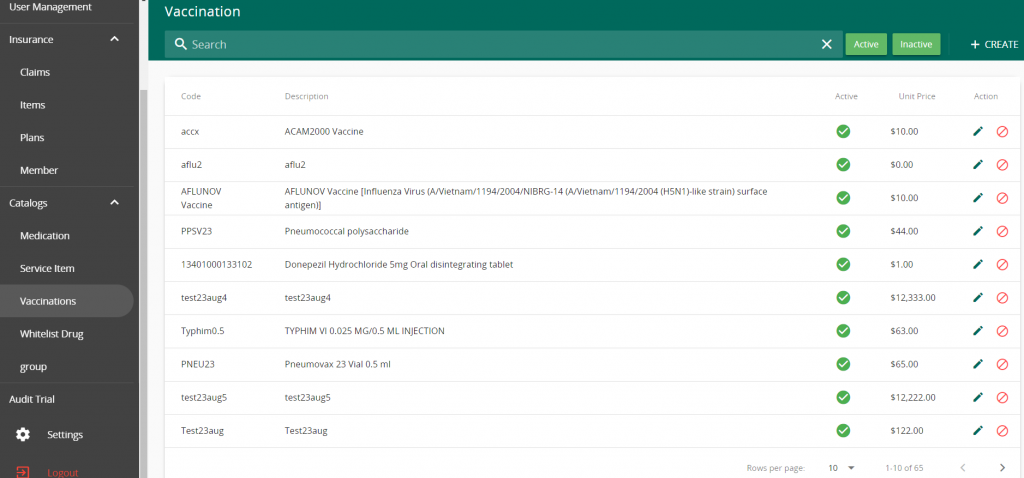
- Next, add in any Medication, Service Item and Vaccination Item which may be used in all branches.

Medication items

Service item

Vaccination items
- If you are onboard for NEHR and/or HSG, do note that the data used have to follow the approved data from MOH.
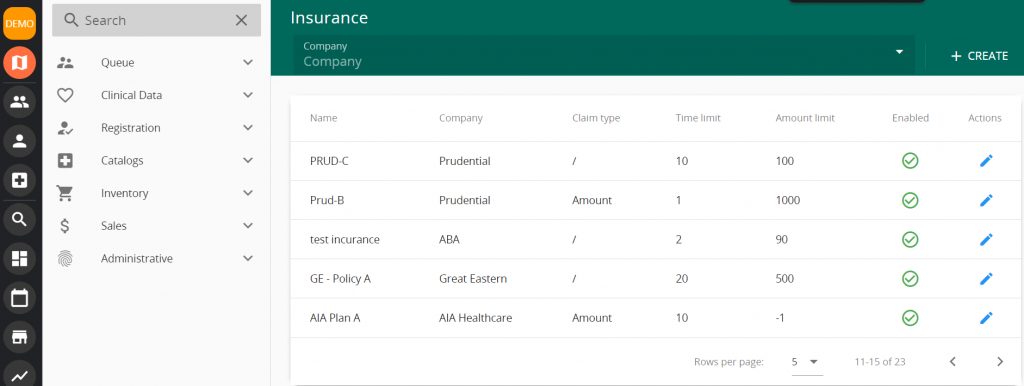
- Moving on, you can head to Vanda Clinic -> Settings to add data that are branch specific along with some clinic specific settings such as insurances, document reference numbers, vaccination plans, combined medications, printer & label settings

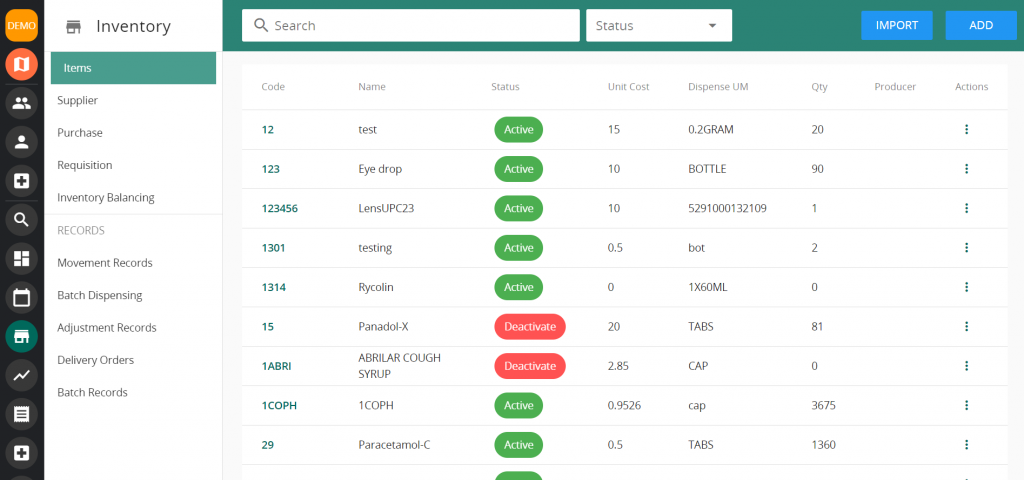
- Lastly, Set up your inventory!
- Add the items that needs to have their transactions tracked into the inventory item list.
- Set up the suppliers that will provide you with these items
- Include the items provided by the suppliers while setting up your supplier
Inventory Item
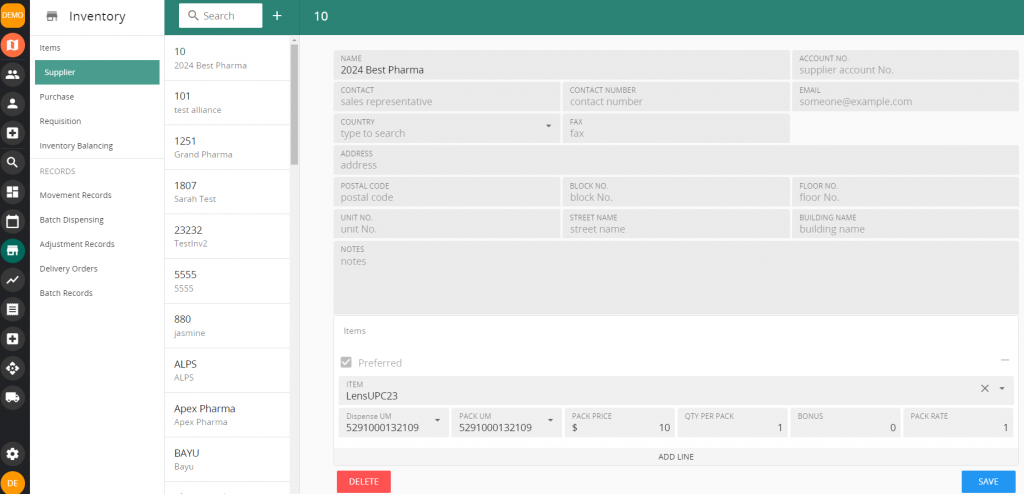
Supplier information
Once the above are completed, you have properly set up your Vanda and may begin utilising the Clinic Management System!